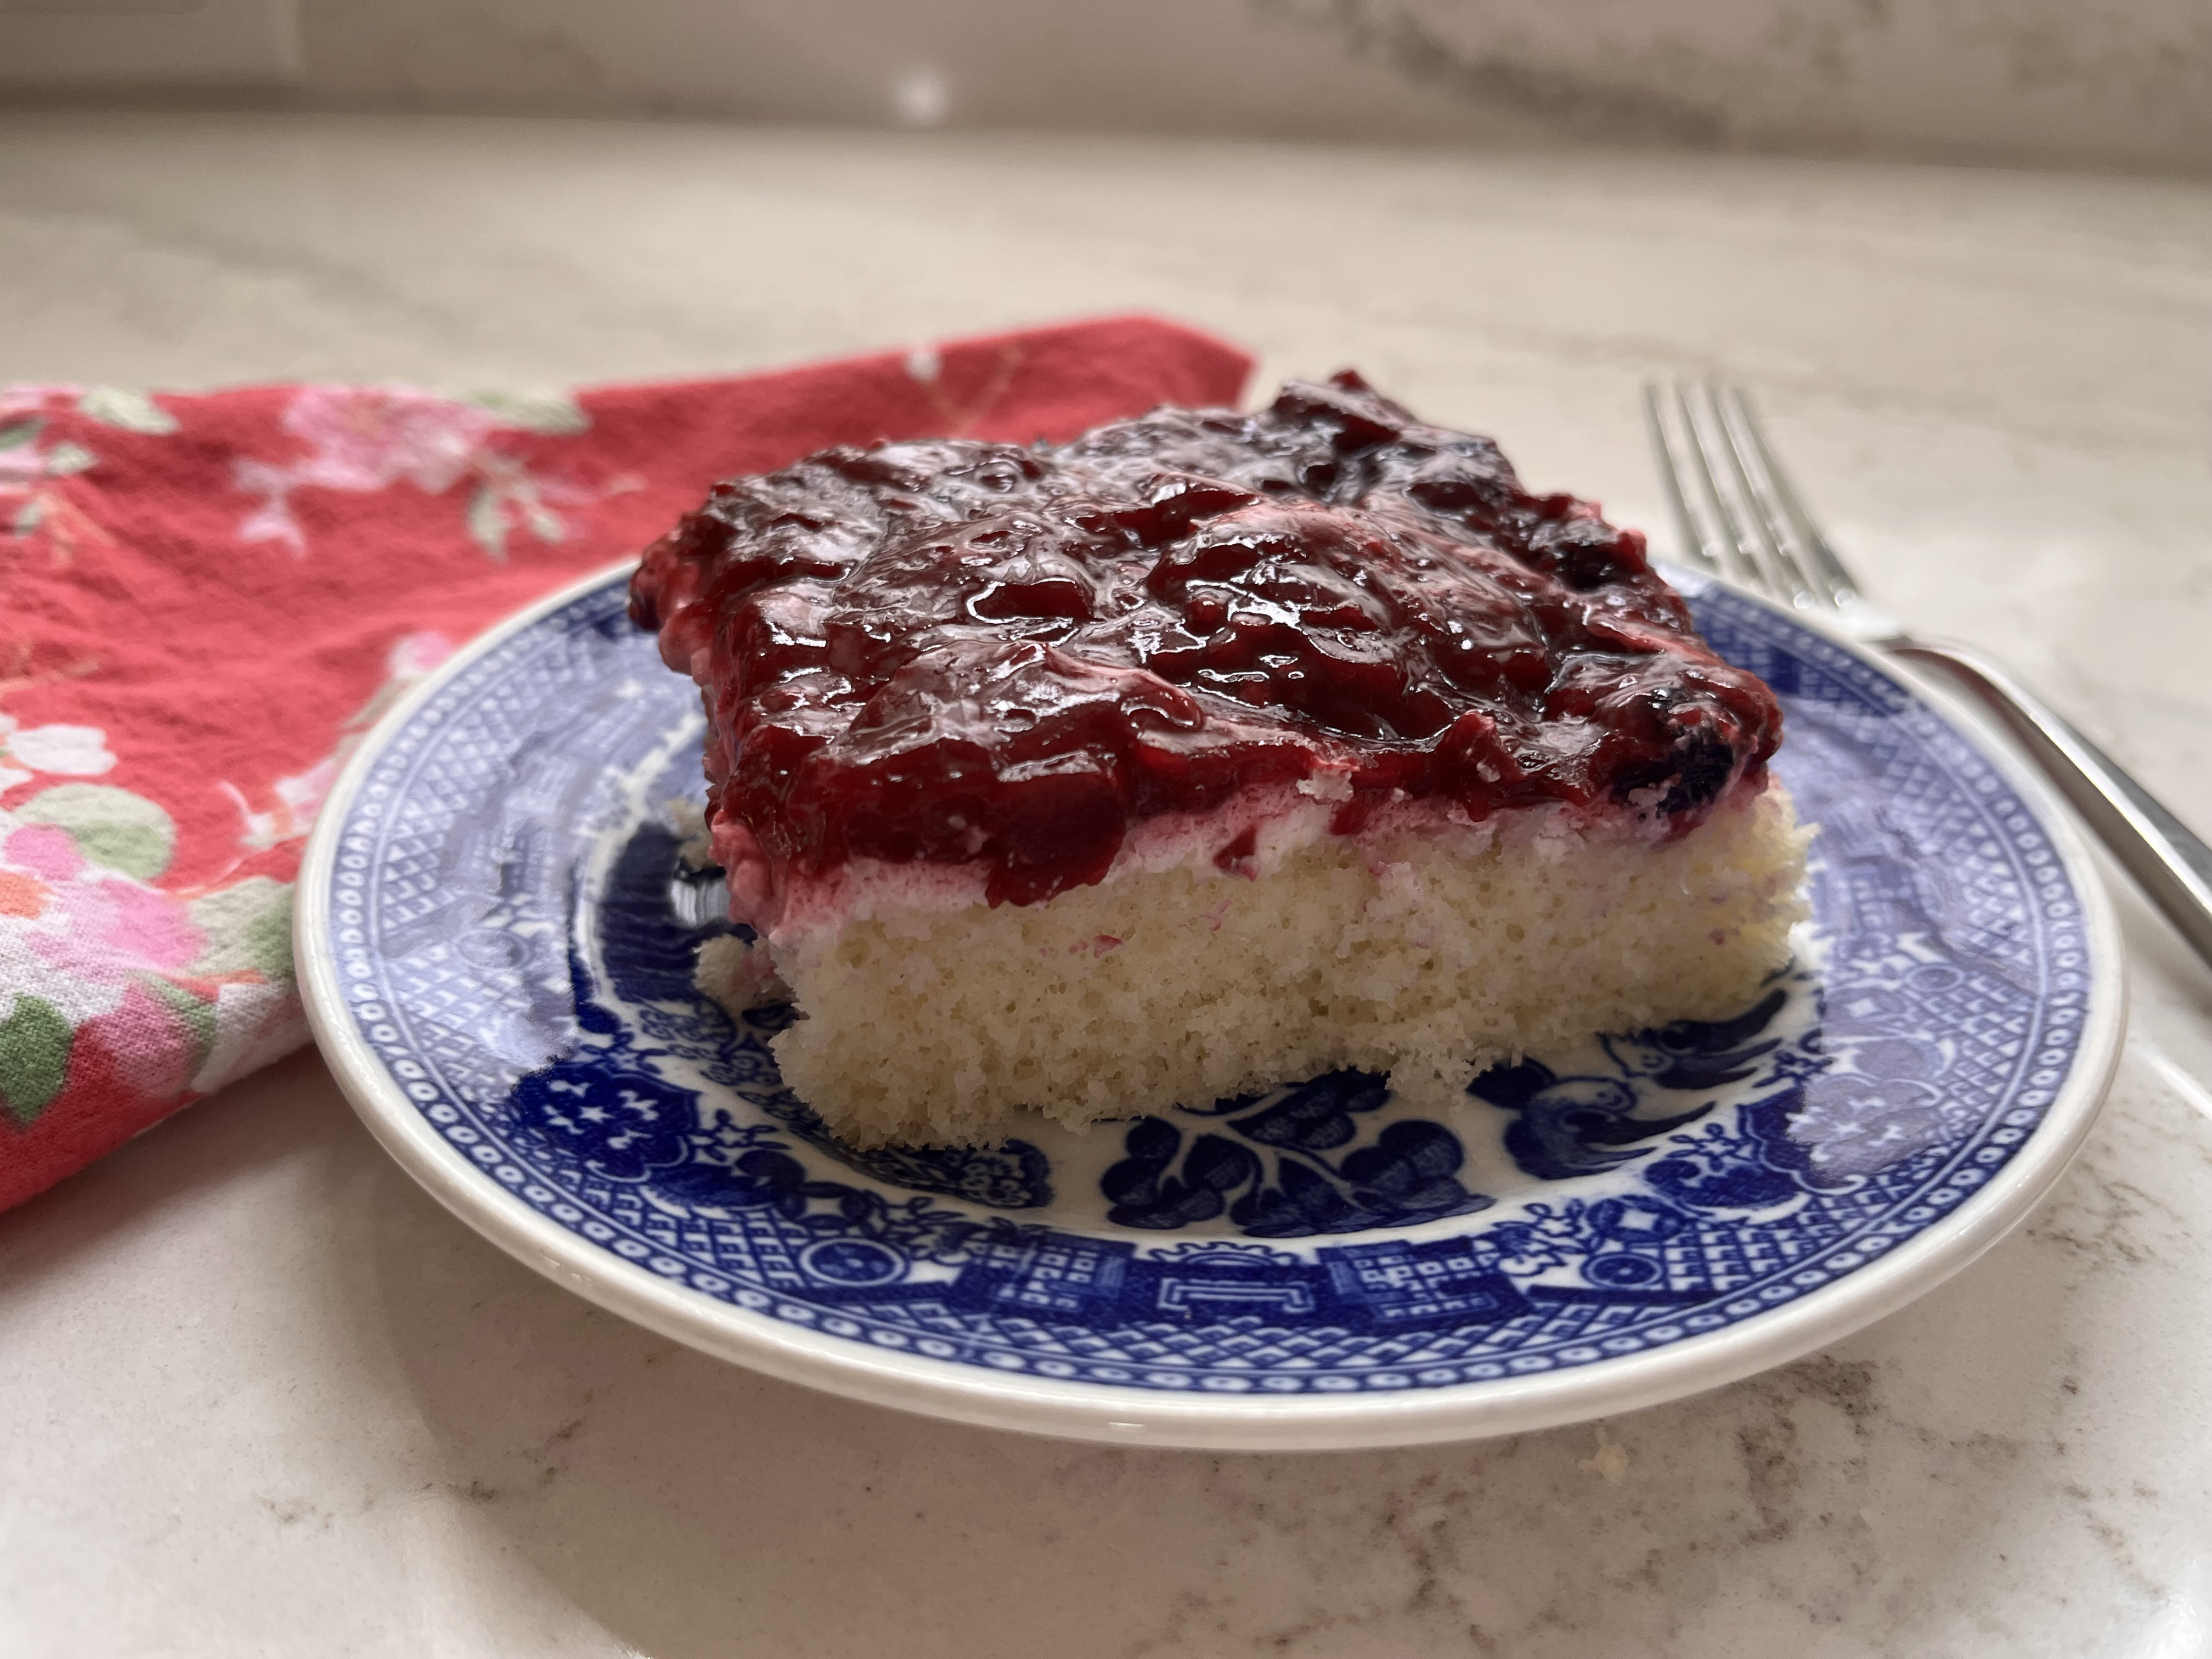
Wanting to do something with the applesauce I made a few days ago, I hunted up an old applesauce cake recipe that’s very simple, comes together quickly and is delicious without being too sweet. Next time, I may try adding a chopped apple. But Kumy loved it – especially with a nice cup of tea.
INGREDIENTS
1 cup sugar ½ cup butter (1 stick), softened 1 cup applesauce 2 cups flour 1 t baking soda 1 t cinnamon 1/4 tsp ground cloves pinch of kosher salt ½ cup walnuts, coarsely chopped Powdered sugar for dusting on afterwards.
Mix sugar and butter until quite smooth and light. Add applesauce and mix well.
In a small bowl, mix together the dry ingredients. Add into the sugar mix, and stir gently, just until blended.
Scoop into an 8 or 9″ baking pan or springform pan, roughly smoothing the top.
Bake at 350 degrees for 35 minutes, or until the top looks dry and springs back if you push on it.
Let cool, and dust with powdered sugar. Keeps well for a few days.
I love apple sauce for a quick treat, but I am not crazy about commercial apple sauce. Somehow I picked up way too many apples and decided to just go ahead and make applesauce.
Used Sarah’s recipe from Allrecipes.com, with a few tweaks like using less water and less sugar since Galas are pretty sweet. I’d wait and add a little more sugar at the end if you use really tart apples.
The original recipe called for peeling all the apples, but if you’re going to buzz them once they’re cooked, I don’t think you need to. The peels are where most of the nutrients are and are fine to eat as long as you buy organic, or at least wash the apples really thoroughly.
INGREDIENTS
8 medium apples, cored and thickly sliced, any apple 1/4 cup sugar (brown sugar is fine, too) 1 tsp Cinnamon pinch of pumpkin pie spice mix (recipe here) 3/4 cup water or apple cider
Add all ingredients into a saucepan and stir. Bring to the boil, then reduce heat to very low and simmer covered for a couple of hours. Check for water – if it’s looking too dry you can add a couple of tablespoons.
Once the apples are getting mushy, remove from heat and buzz with an immersion blender just until all the peels are blended.
Taste for sweetness and cinnamon flavor. I added a tablespoon more sugar, another pinch of pumpkin pie spice, and another small shake of cinnamon and stirred it well.
MelsKitchenCafe.com has such amazing recipes and this is Mel’s Grandma’s Famous Sheet Cake. Mel makes it with a home made cake mix, but I had a million other things to do, so I just used a white cake mix.
It makes a wonderfully light, creamy and delicious cake – with the tartness of the berries and lemons creating a nice balance to the sweetness of the cream and cake. Even Kumy loved this cake – and he is not a cake guy at all. It makes a nice large batch perfect for a gathering, and I know I’ll make this again and again.
INGREDIENTS
Fruit Topping: 2 ½ cups (365 g, more or less) frozen blueberries, raspberries, blackberries, huckleberries, triple berry blend, etc ¾ cup cold water ⅓ cup sugar 2 ½ Tbsp cornstarch 1 Tbsp fresh lemon juice
Cake: 1 white cake mix 1 tsp almond extract
Cream Layer: 6 ounces cream cheese, softened to room temperature ½ cup powdered sugar 1 Tbsp fresh lemon juice ½ tsp vanilla extract 2 cups chilled heavy whipping cream
Instructions
Fruit topping: combine all ingredients in a medium saucepan. Stir gently until cornstarch is dissolved. Cook over medium heat until mixture simmers, and large bubbles pop at the surface. Remove from heat and let cool. Mixture will thicken as it cools. You can store this in the fridge until needed.
For the cake, preheat oven to 350 degrees. Lightly grease a half sheet pan (about 17X12-inches). Mix cake mix as directed on the box, adding the almond extract.
Pour into baking sheet and bake for 20 to 22 minutes until the center of the cake springs back lightly. Remove from oven and let cool completely in the pan.
With a mixer, mix the cream cheese and powdered sugar together until smooth and creamy.
Add the vanilla and lemon juice and mix until combined. Add 1 cup heavy cream and mix until somewhat creamy. Add remaining heavy cream and keep mixing until the mixture has thickened to soft peaks. Don’t overbeat!
To assemble, spread the cream topping evenly over the cooled cake. Refrigerate the cake for about an hour for the cream layer to firm up a bit. (I stopped at this point, and covered the pan with another sheet pan upside down over it, so I could store it in the fridge until the next day.)
Just before serving, drop spoonfuls of fruit topping across the top. Gently spread so each piece has a fruity layer.
Keep cake cool until just before ready to serve. Delish!
Fresh, home-made whipped cream is just delicious and super easy. You can make it ahead of time and just keep it covered in the fridge. I normally just wing it, but it’s nice to have a reference when I do make it. It really makes a trifle sing!
Ingredients
1 cup heavy whipping cream 2-3 Tbsp powdered sugar, depending on how sweet you like it 1 tsp Vanilla extract (or could use Rum)
In a large bowl, whip the heavy cream until it’s getting slightly thickened, then add the powdered sugar and vanilla. Beat until soft peaks form when you lift the whisk or mixer attachment out of the bowl.
You can cover and refrigerate it for several hours without it breaking down. Don’t know if it would keep longer! Our never keeps – someone keeps eating it all.
My friend Dot made this amazing rhubarb crisp for dinner a few nights ago and I was gobsmacked. How have I never had a Rhubarb Crisp before? It’s sweet, tangy and a perfect summer dessert.
Dot was kind enough to share the recipe with me, which was from Nora at Savorynothings.com and I used her recipe exactly, just adding a little vanilla. A few nights ago we were having friends over to play cards and I loved being able to pop out in the garden and gather fresh rhubarb for dessert!
At some point, I might try swapping out the cinnamon for a little fresh & candied ginger, since we love Rhubarb Ginger Jam, but this is honestly just about perfect as is.
Rhubarb Filling 2 lbs. fresh rhubarb, cut into 1/2″ slices ¼ cup cornstarch ¾ cup sugar ½ tsp ground cinnamon 1 tsp vanilla extract
Crumble Topping 1 cup oats ½ cup flour ½ cup sugar ½ tsp ground cinnamon 1 pinch salt 1 stick cold butter, in ½” cubes or grated (8 Tbsp)
Gently but thoroughly combine all rhubarb filling ingredients in a large bowl. Spread evenly in a 10 x 13″ baking dish.
Then thoroughly combine the oats, flour, sugar, cinnamon and salt in the same bowl. You can cut in the cubed butter (that’s what Nora does) but I find it easier to just coarsely grate the stick of cold butter directly over the flour and oats mix, and then gently blend so there are no clumps of butter left. Scatter the crumb topping evenly over the rhubarb filling. Don’t worry about overflow, this dish doesn’t rise, so it fits fine.
Bake at 400°F for around 35 minutes, or until golden and bubbly. Let cool 10 minutes before serving with a scoop of vanilla ice cream. Sweet, tart and crunchy. So good.
*Nora mentions that if you use frozen rhubarb, to thaw it completely and let it drain without squeezing it. Freezing makes rhubarb a little more watery so you may need to add another Tbsp of cornstarch.
This is the simplest breakfast, dessert or snack imaginable, but it’s really good, and it looks so pretty!
The tartness of the raspberries is perfect with the yogurt and the jam and granola give them just the right amount of sweetness. I honestly would rather have this than ice cream for dessert.
For 1 serving:
2/3 cup 2% Fage Plain Yogurt (5.3 oz ) couple small spoons Raspberry jam 6-7 fresh raspberries couple spoons of Cinnamon Granola
Place yogurt into a pretty serving dish, pour jam over (may need to add a drop or two of water to thin.) Sprinkle fresh raspberries over and then granola. Yum!
I made Thanksgiving punch with apple cider, ginger ale and a pinch of pumpkin pie spice mix, served with a glass with sliced apples, sliced oranges and frozen cranberries, tossed with a little lemon juice. It was pretty good and several people enjoyed it, but of course I cut enough fruit for 30 extra glasses!
So I found this amazing recipe by Rachel Ballard on FeastandFarm.com, to use up the apples and cranberries. Rachel uses 12 full ounces of cranberries, but I just used about a 1/2 cup since that was all I had. It is fast, super easy and so delicious!
Ingredients 1/2 cup frozen cranberries 4 cups Fuji apples, cored and thinly sliced but not peeled 1/2 cup light brown sugar 1 Tbsp freshly grated orange zest 1/4 cup orange juice from the orange you zested 1 tsp ground cinnamon 2 large eggs at room temperature 1 cup white sugar 1 stick butter melted and cooled slightly 1 tsp vanilla extract 1/4 cup sour cream or heavy whipping cream (I only had whipping cream) 1 cup all purpose flour Good pinch Kosher salt
Instructions
Preheat the oven to 325 degrees. Lightly grease a 10-inch pie plate.
In a medium bowl, mix the cranberries, apples, brown sugar, cinnamon, orange juice and zest. Put in the bottom of the pie pan.
In the same bowl, beat the eggs until lighter and fluffier–about 2 minutes. Add the white sugar, butter, vanilla, salt and sour cream (or whipping cream) and mix well.
Gently mix in the flour just until no pockets of flour remain.
Spread the batter over the fruit as evenly as possible. It will be thick.
Bake 45 to 50 minutes or so, until the cake is lightly browned. Check it with a toothpick–if it comes out clean it’s done.
Let cool for 10 minutes or so, and then gently loosen the edges with a butter knife and hold serving plate over it and flip. Serve warm or at room temperature. So good!
When you want a really light, delicious breakfast, snack or dessert, nothing beats good yogurt, berries and granola. This is a dish that I make all the time, but never think of writing down.
We usually buy the best whole milk plain yogurt we can find (Brown Cow makes amazing yogurt!) and then add a little honey or jam. My favorite jam to add is Spicy Peach, paired with Cinnamon Granola. But you can really use almost any jam or fruit, even a frozen berry mix if you want to, and any granola you have on hand.
Ingredients
1 cup any berries – blueberries, raspberries and blackberries are good 1 cup plain whole-milk yogurt 1 1/2 Tbsp Spicy Peach Jam handful of Cinnamon Granola
In a wide, flat bowl start with yogurt, and drop jam over in little plops. (Technical term.) Toss berries and then granola over. Stir gently and devour.
I don’t often make pie crusts from scratch, but when I do, I have the best luck with this recipe.
Traditional Pie Crust:
1 3/4 cup flour 1/2 tsp salt 1/2 cup vegetable oil 3-4 Tbsp cold water
With a fork, stir together flour and salt in a medium bowl. Pour in vegetable oil and mix gently until the mix is quite crumbly.
Dribble in 3 Tbsp of cold water and gently start mixing it in. The dough will start to stick together and start to form large lumps. If it isn’t, add the rest of the water.
Lay out a section of waxed paper that is twice as wide as it is tall and fold it in half. Unfold it and dump the pie dough onto the bottom layer. Form a flattish 6″ circle. You don’t want to beat it up – just pull all the loosish bits together. Fold the top over and begin to roll it out in a rough circle.
Keep your pie pan handy, and keep rolling until your circle is roughly 1/2″ – 1″ bigger than the pie pan. Remove the top layer of wax paper and “roll” the crust around the rolling pin. Unroll the crust over the pie pan, gently tugging and pushing down so the crust is well-seated in the pan.
Fold the edges up and under themselves, cutting off any extra-long bits and adding them anywhere your crust isn’t quite long enough. Then you can either use a fork to create a ridged edge, or you can crimp the edge with your hand. It’s easier to see than read – here is a video showing how to crimp a pie crust.
Prick with a fork all over the bottom and bake at 425 for 12-15 minutes. No chilling – and no baking beans or whatever. Just pop it in the oven and bake it. You want the edges of the crust to just begin to darken. You’ll also smell a cooked flour aroma.
Remove from oven and allow to cool.
Add filling. (If you’re using the crust for a filling that needs to bake, just fill it first and follow the baking times for baking a filled pie.)
Graham Cracker (or other cookie) Pie Crust:
1 1/2 cups crushed graham crackers or BelVita Honey and Nuts cookies (3 packs of 2 cookies each) 1/3 cup melted butter 3Tbsp of sugar (1 1/2 Tbsp if you are using Belvita Cookies.)
Mix in a bowl, then dump into a pie pan, gently spreading the crumbs with the back of a spoon, going up the sides of the pan as well. (Doesn’t have to be perfect – partway up is fine.) Bake for 10 minutes at 350, remove and let cool before filling.
Fresh, luscious Cranberries by Rasa Kasparaviciene on Unsplash.
Fresh Cranberry Cake, from Barefeet in the Kitchen, is easy and so delicious! The most important thing is to thoroughly beat the eggs and sugar until they are super light and fluffy. It forms a nice crust on top by itself and keeps very nicely for a few days. Had a piece with my dear friend Louisa yesterday and it’s perfect with afternoon tea!
Ingredients
3 eggs 2 cups sugar 3/4 cup butter, softened 1 tsp vanilla zest of 1 orange 2 cups all-purpose flour 12 oz fresh or frozen cranberries (about 2 1/2 cups) powdered sugar, for dusting (optional)
Preheat oven to 350 degrees.
With a mixer, beat the eggs with the sugar until slightly thickened and light in color, about 5-7 minutes. The mixture should almost double in size. The eggs work as your leavening agent in this recipe, so do not skip this step. This mixture should form a ribbon when you lift the beaters out of the bowl.
Add the butter, vanilla and orange zest; mix two more minutes. Gently stir in the flour until just combined. Add the cranberries and stir to mix throughout, and spread in a buttered 9×13 pan. The dough is quite thick, so you’ll need ot smooth it with a spatula.
Bake for 40-50 minutes, or until very lightly browned and a toothpick inserted near the center of the cake comes out clean.
Let cool completely before cutting, and dust with powdered sugar.